 My sisters remember my grandfather’s barn. I don’t. Roscoe and Inez died before I was born, and I never visited their house in Fort Payne. When they lived there, Roscoe was a dairy farmer. He kept his cows in the barn.
On a trip last May to visit old family sites, we pulled over to see the old place. “It’s Roscoe’s barn,” they said. “It’s still there.”
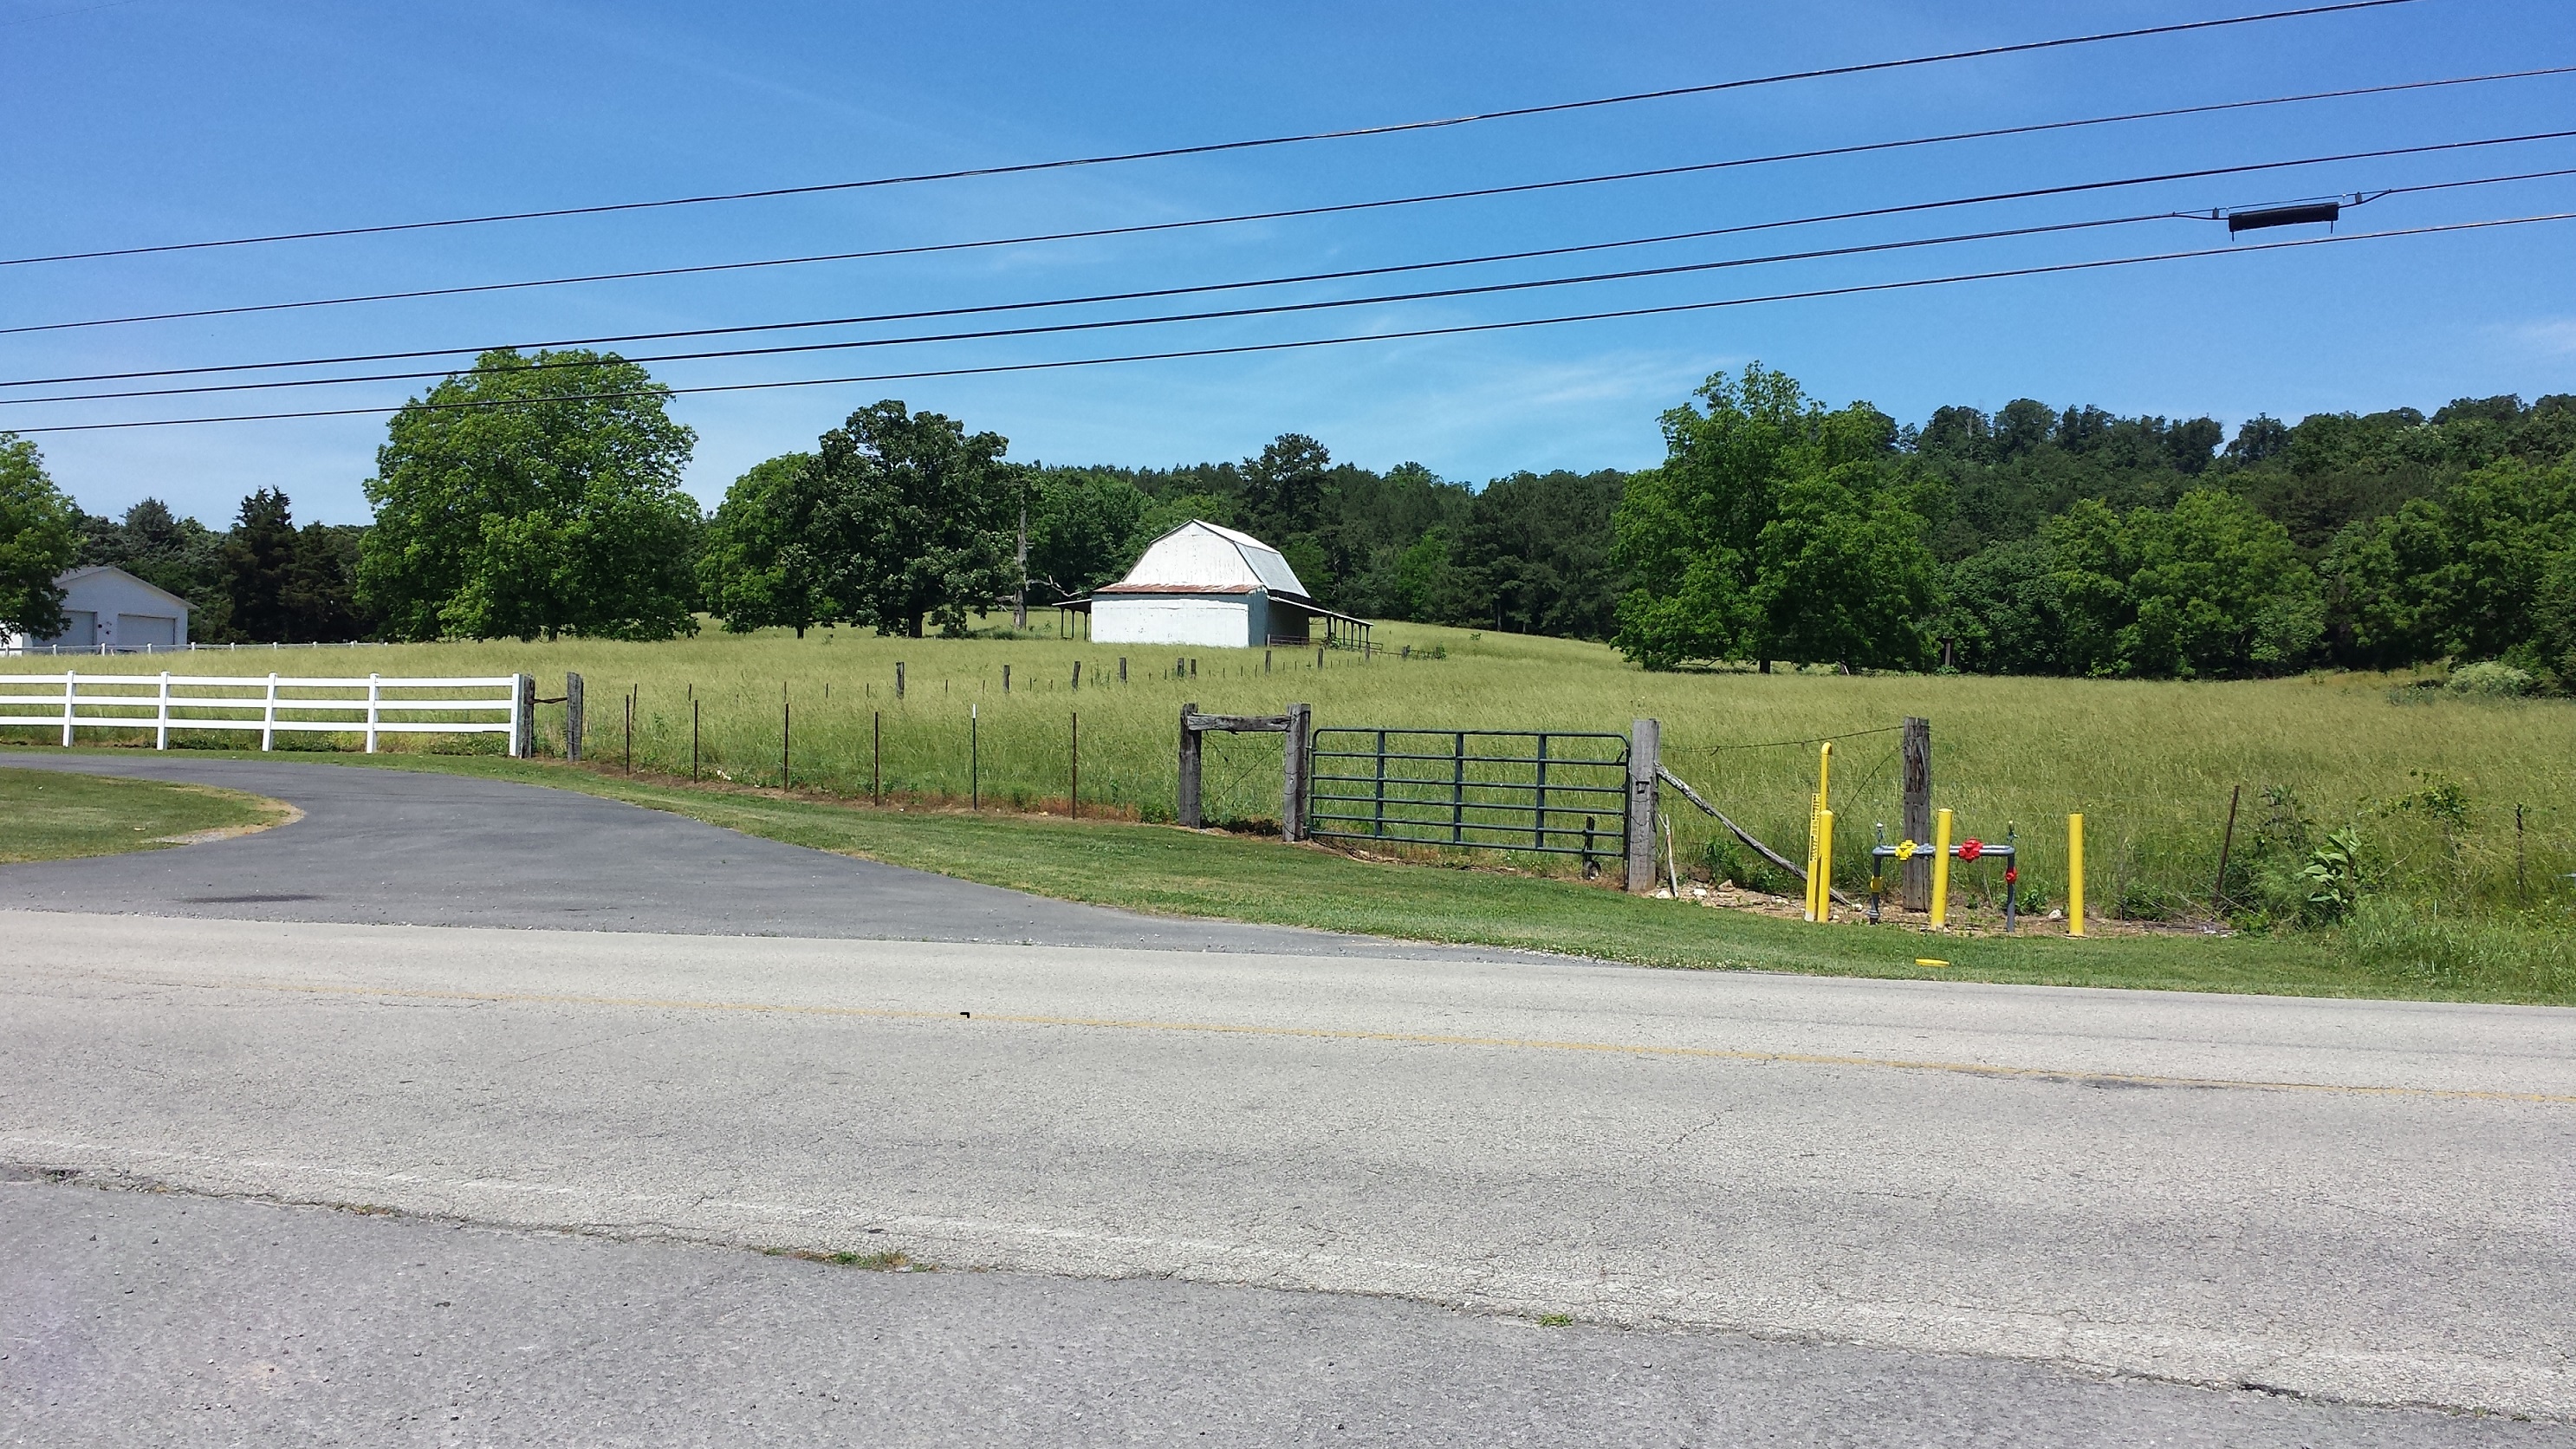
We took a few quick photos on our smartphones. This one was mine.
For months, this photo was just one of the images taking up a little memory in my gallery. What can you do with something like that anyway – a poor-quality picture of a barn in a field with power lines in the scene, and a whole lot of road at the bottom? My sisters did not have much sentimental attachment to the electrical supply and asphalt, as far as I know. Just the barn.
In case, here’s what I did with it. Christmas was upon us, and I was giving some hand-crafted gifts to family members. And I remembered that barn. So I transferred the photo to a canvas panel (twice) and gave the pieces to my sisters. It was really easy, and here are the steps I took:
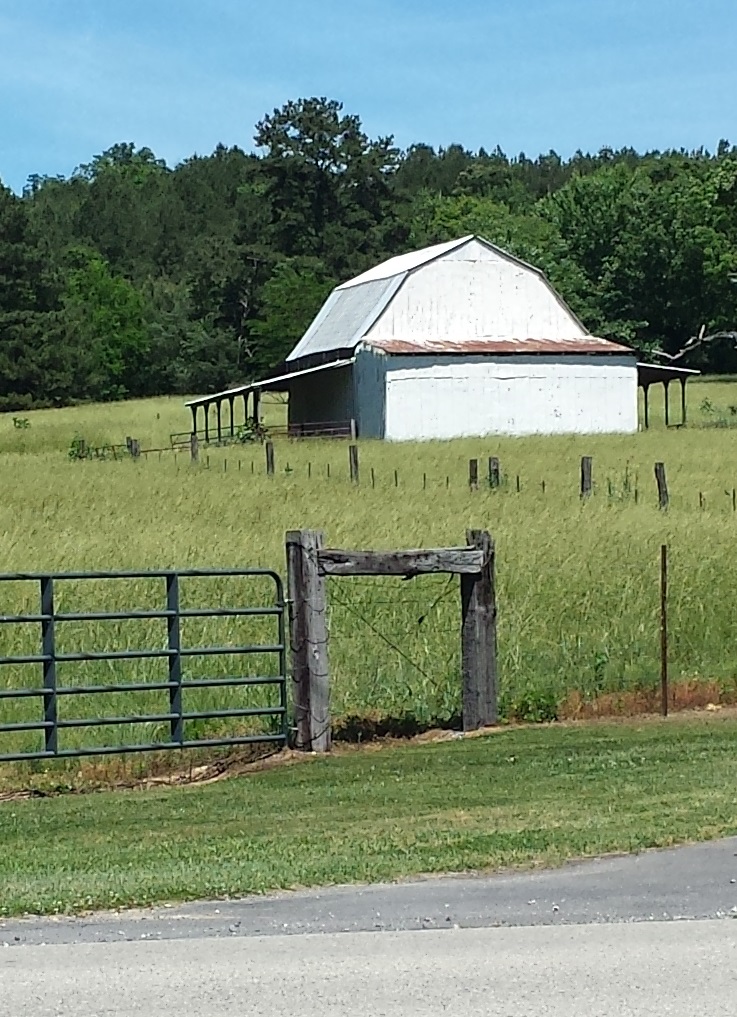 Step 1: Crop the photo. As I mentioned, the image from my smartphone was of a wide shot with a lot of “non-barn” detail.” I used the default Paint program that comes in Windows to crop the image. Also, I reversed the photo. You need a mirror image so that it looks like it’s supposed to when transferred.
Step 2: I inserted the image into a Word document. I was going to transfer the photo to a 5×7 canvas, so I adjusted the image size to 5×7. I printed the document on my ink jet printer. (I don’t know what happens with laser printers; I didn’t try it.)
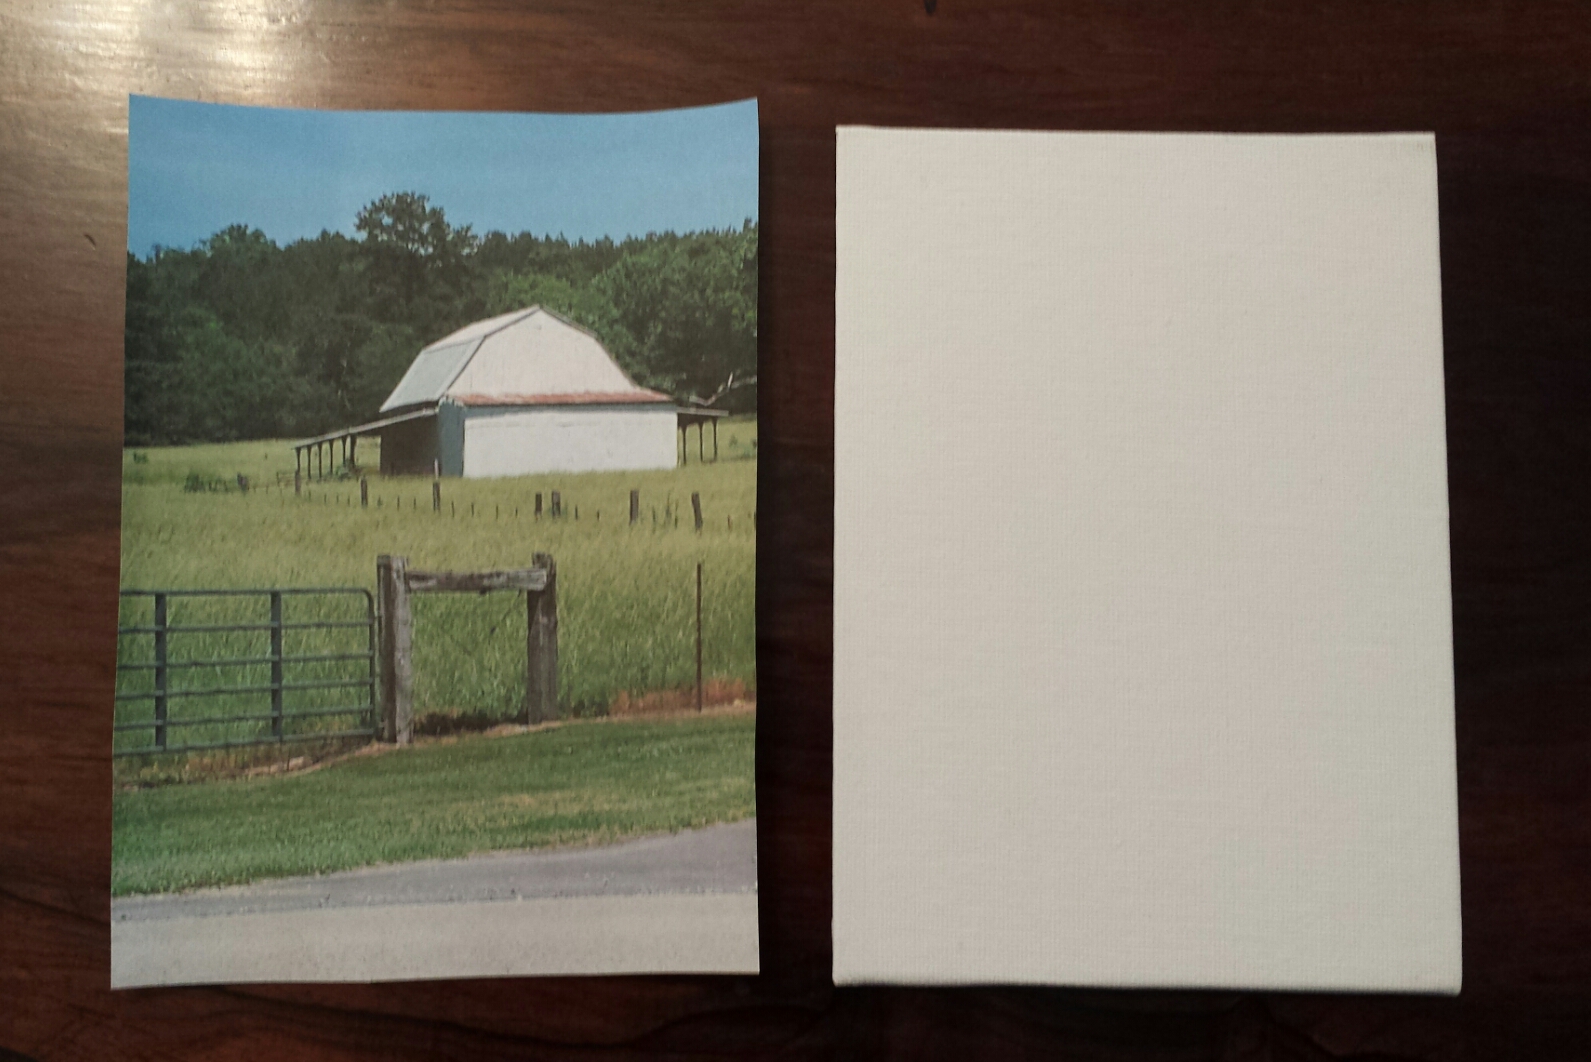 Step 3: I cut out the image to fit the canvas panel.
I mention this to make a point. When I first started experimenting with mixed media, I wasn’t sure how best to cut the tissue paper and cardstock that I was using in my pieces. I tried several methods that seemed like they’d be “artist-y” – such as an X-acto knife and a paper cutter, when one day I hit on the process that works best. Scissors. I use scissors now.
Do not discount how hard it is sometimes to recognize the obvious.
 Step 4: I covered the image completely with sponge brush and Mod Podge Photo Transfer Medium. I placed the coated image face down on the canvas panel.
Instructions say to burnish; I don’t have a burnisher. I pressed down and smoothed across the canvas panel to make sure the paper was securely affixed with no bubbles.
 Step 5: Wait 24 hours.
Step 6: Take a sponge and water and remove the paper.
The image (reversed back) stays on the canvas panel. 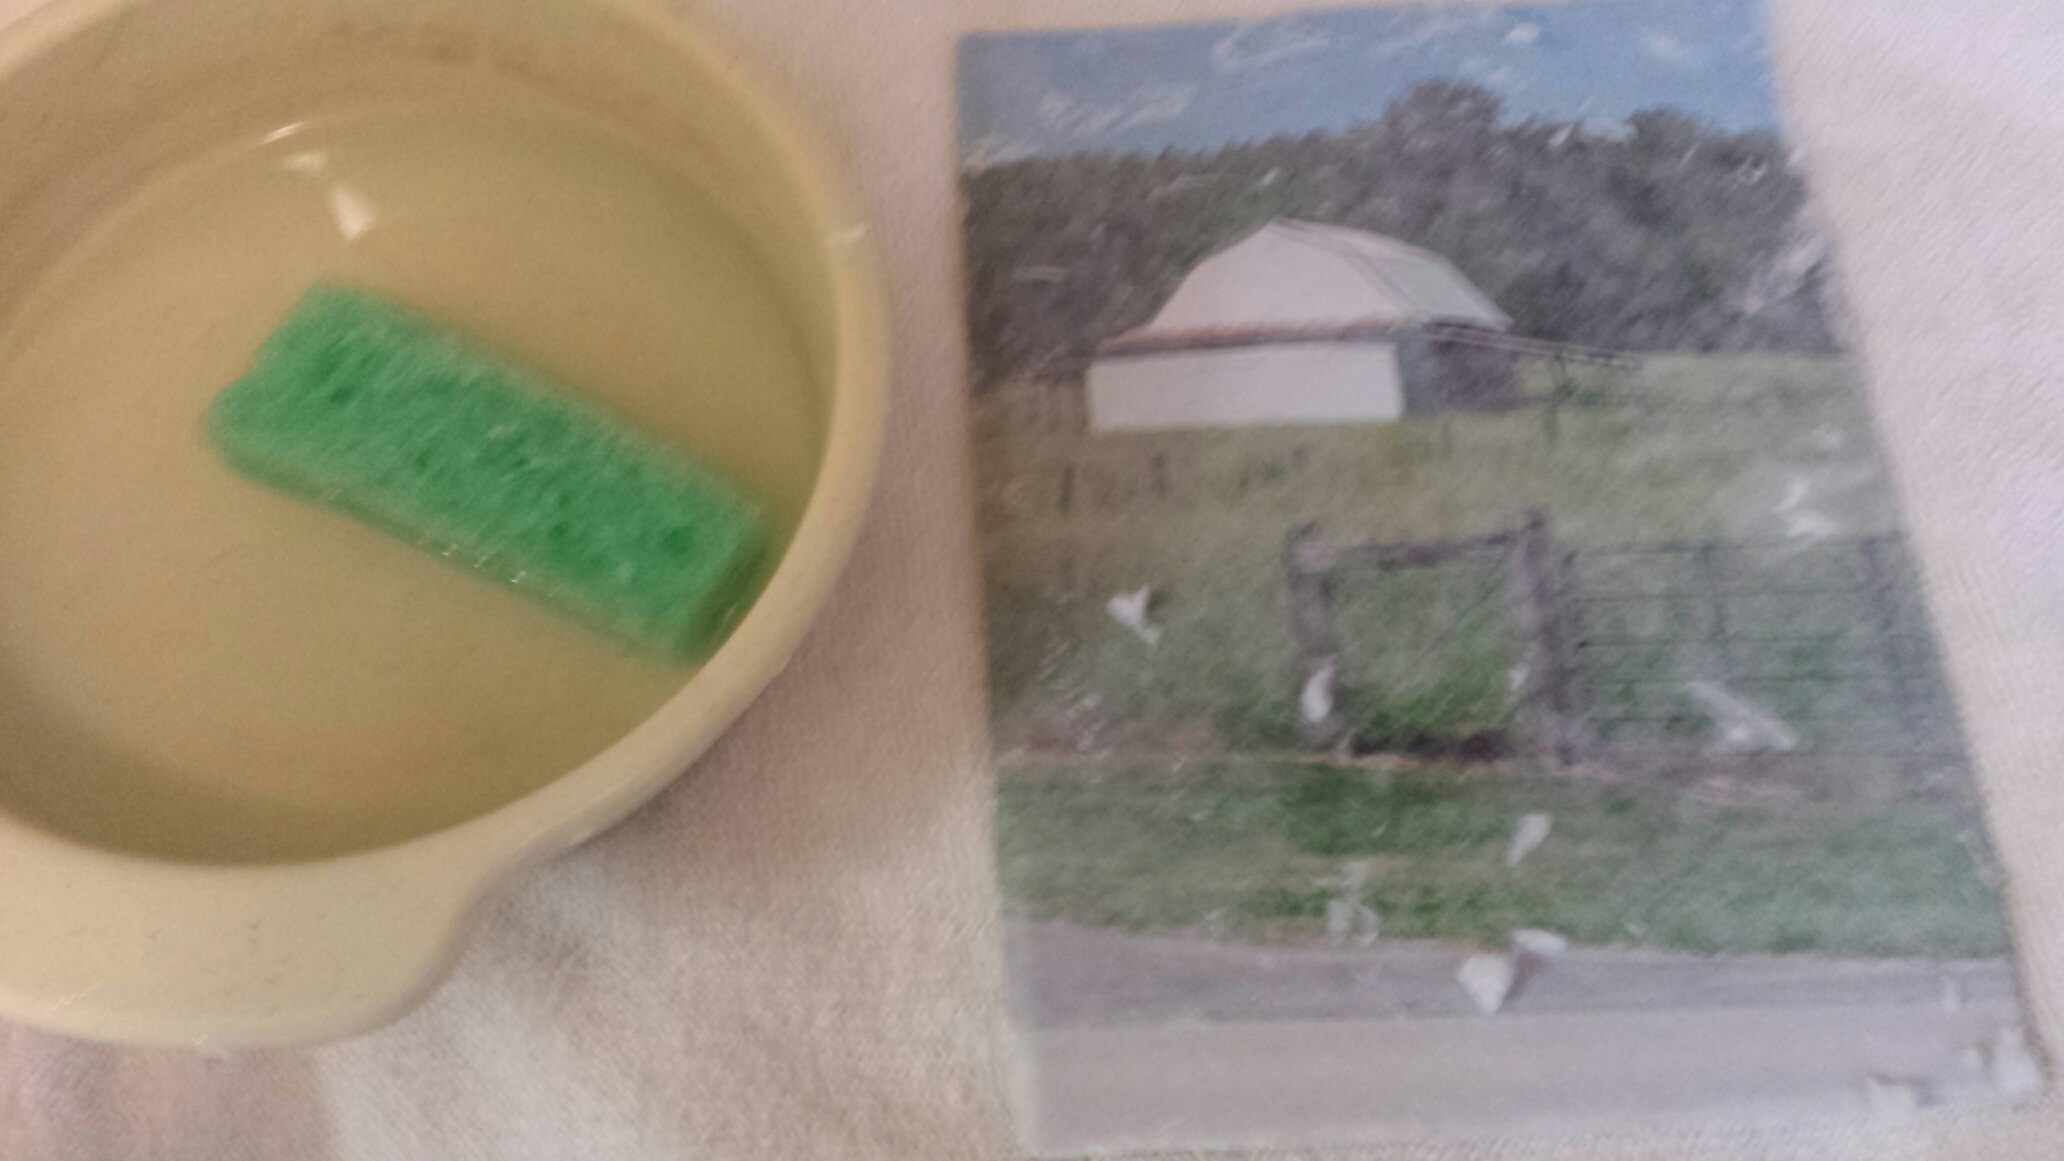
After it dries, you may need to repeat. I have to do this a couple of times to remove all the remaining paper.
 Step 7: When the paper is removed, let dry completely. You can paint over the piece if you want, or just cover with Mod Podge Matte or Gloss.
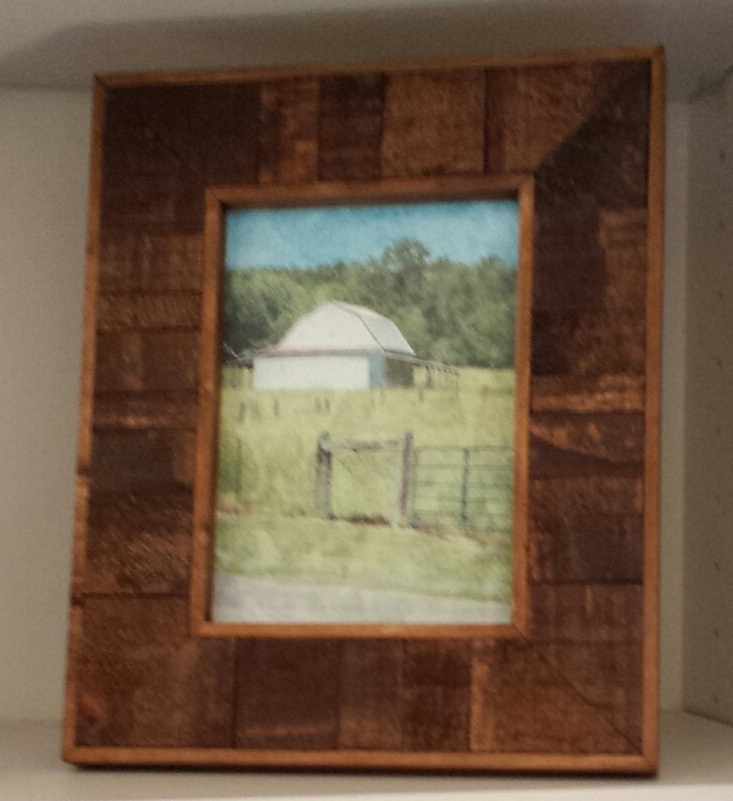
When it dries, you’re done. Unless you want to put it in a frame, and then you’re done.